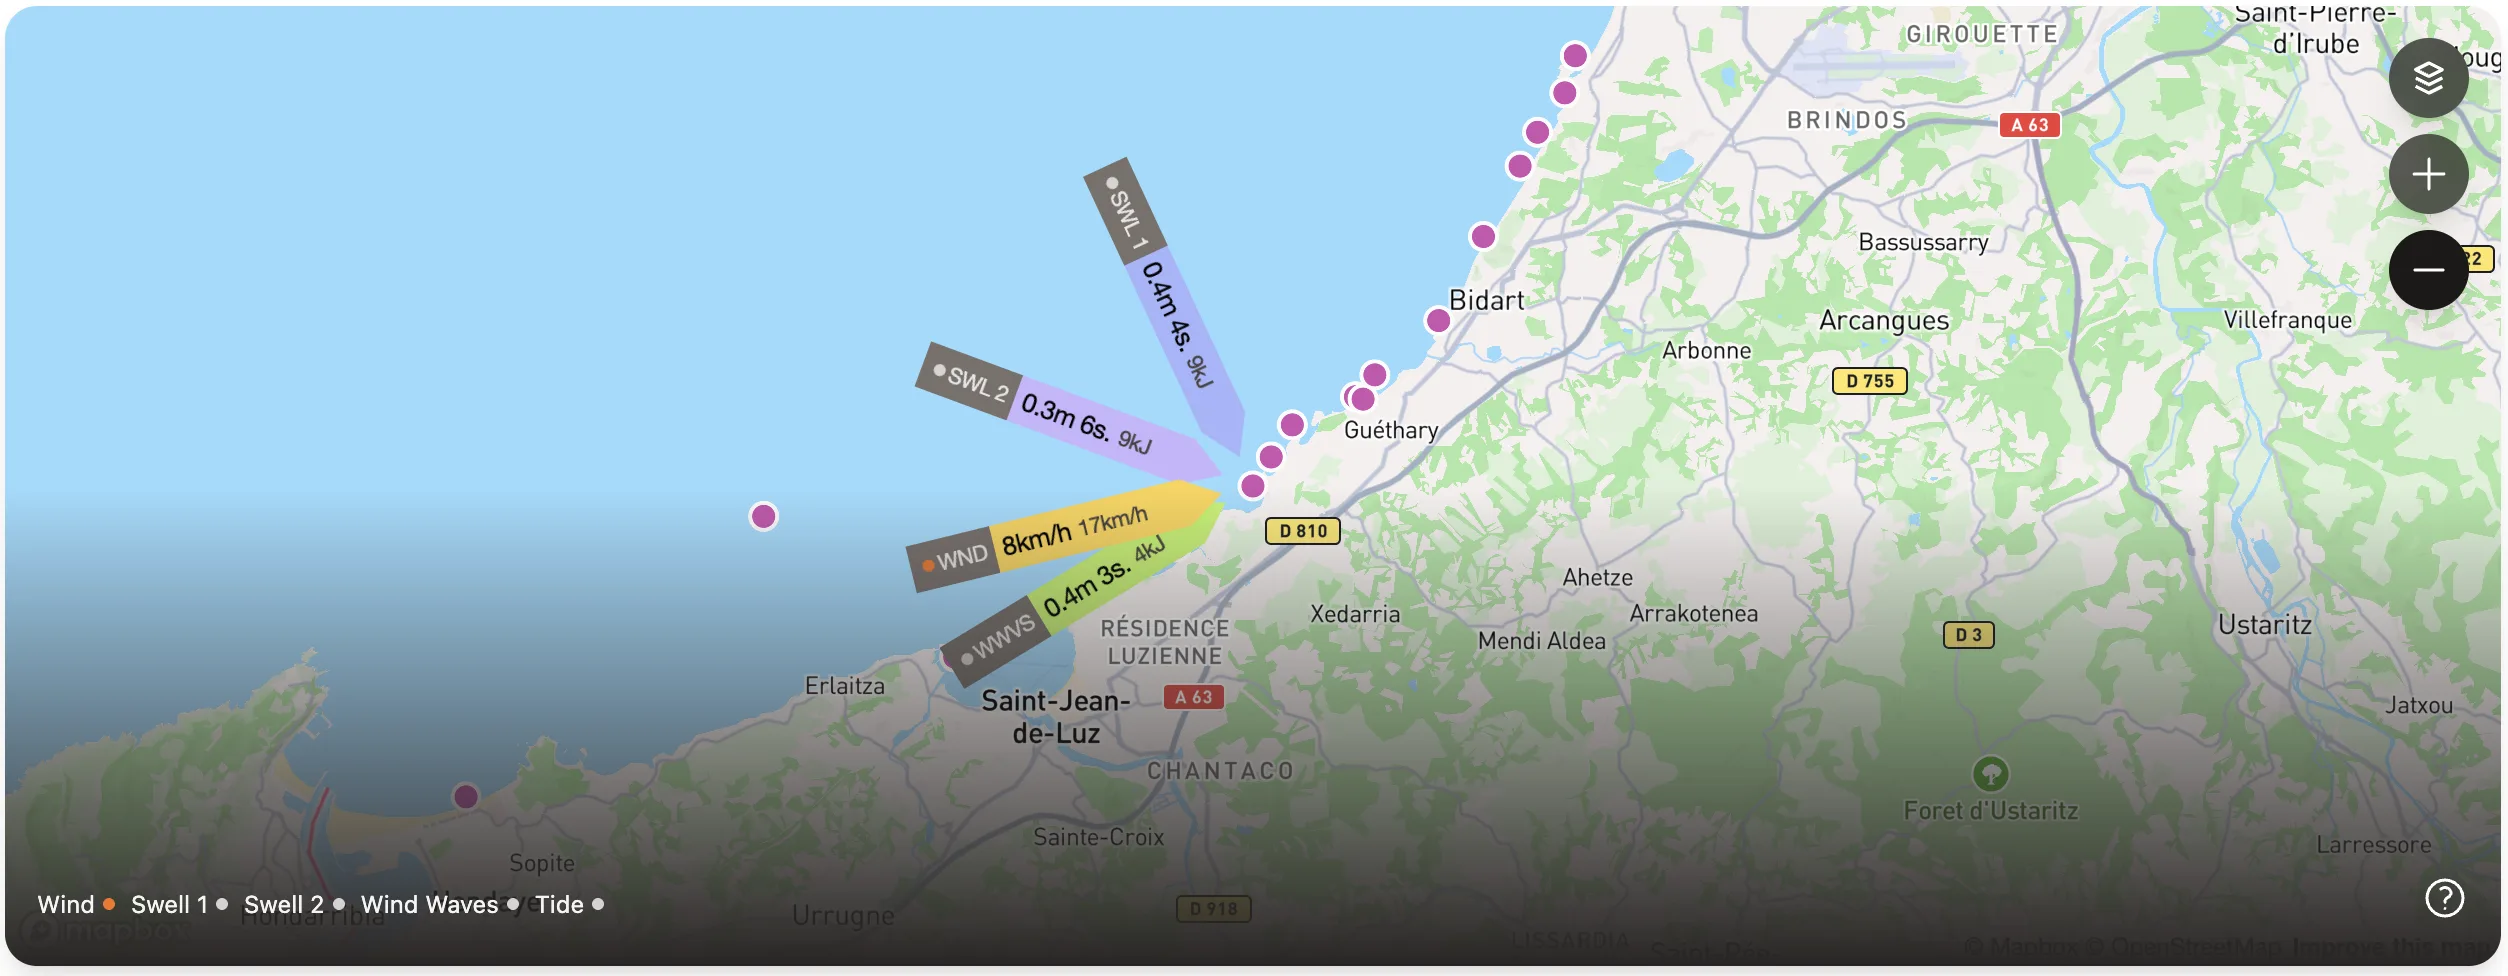
Aha is a reef break with two distinct personalities. Around the port you'll find some easier rights, while just along the way at Aha-yoko the lefts throw hollow and heavy. Both peaks break over uneven reef, so it pays to know exactly where you're paddling out.
When It Works
Aha draws swell from north to east, with northeast (NE) the swell direction that lights it up best. It's usable from 0.6 m / 2 ft to 1.8 m / 6 ft, so there's a decent working window once a swell arrives. Consistency can be hit or miss, which makes it worth timing your session for when the setup lines up.
Wind and Tide
Look for west (W) offshore wind to clean it up. The reef can work through most of the tide, with a rising tide generally the better call, though the mellower rights around the port come into their own on low tide.
Local Tips
This is an experts-only wave, especially the hollow, heavy lefts at Aha-yoko, where the locals are less pleased to see visitors. Improvers can find their feet back at the port, particularly on the lefts. Expect a busy lineup at both peaks when it's on.
Access
There's a car park with free parking, along with roadside parking nearby.